Kodak Portra has become the gold standard for color negative film, beloved by wedding photographers, portrait artists, and anyone seeking beautiful skin tones and natural color reproduction. Whether you’re choosing your first roll of Portra or deciding between the different speeds, this comprehensive guide covers everything you need to know about Portra 160, 400, and 800.
From technical specifications to real-world shooting advice, we’ll help you understand why Portra has earned its reputation as the finest color portrait film ever made.
What Makes Portra Special
The Portra Philosophy
Kodak designed the Portra series specifically for professional portrait and wedding photography, with an emphasis on:
- Exceptional skin tone reproduction across all ethnicities
- Fine grain structure even at higher ISOs
- Wide exposure latitude for forgiving shooting
- Consistent color palette across the entire series
- Professional reliability for critical applications
Technical Innovation
Key Portra technologies:
- Advanced color couplers for improved color saturation
- Optimized spectral sensitivity for accurate skin tones
- Enhanced grain structure using Kodak’s T-GRAIN technology
- Improved sharpness without sacrificing natural look
- Extended exposure latitude up to 3 stops overexposure
The Portra Family Overview
| Film | ISO | Best For | Grain | Color Saturation | Price Range |
|---|---|---|---|---|---|
| Portra 160 | 160 | Studio, bright conditions | Finest | Moderate | $12-15/roll |
| Portra 400 | 400 | General purpose, versatile | Fine | Balanced | $12-15/roll |
| Portra 800 | 800 | Low light, events | Visible but pleasing | Higher | $13-16/roll |
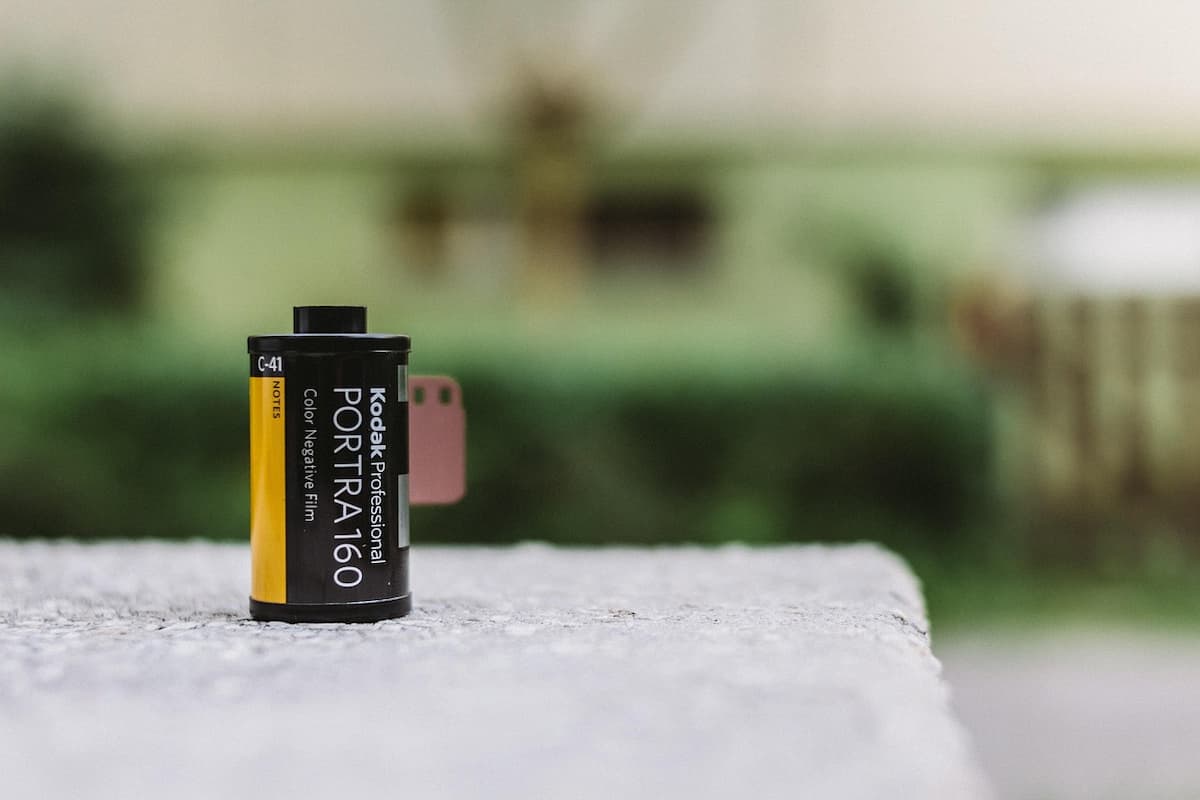
Kodak Portra 160: The Fine Art Choice
When to Choose Portra 160
Ideal conditions:
- Bright daylight or studio lighting
- Controlled lighting situations
- Fine art portrait work
- Fashion photography
- When maximum image quality is priority
Not ideal for:
- Handheld shooting in dim light
- Fast-moving subjects
- Available light photography
- Situations requiring high shutter speeds
Technical Characteristics
Exposure latitude: Exceptional, handles 2-3 stops overexposure gracefully Grain: Finest in the Portra series, virtually invisible at normal viewing sizes Color reproduction: Slightly muted compared to 400, very natural Contrast: Lower contrast, excellent shadow detail Sharpness: Excellent resolution and sharpness
Shooting Tips for Portra 160
Exposure strategy:
- Meter for shadows - Portra loves overexposure
- Consider +1/2 to +1 stop overexposure as standard
- Use incident metering when possible for portraits
- Avoid underexposure - will result in muddy shadows
Lighting recommendations:
- Golden hour: Exceptional results in warm light
- Open shade: Beautiful for portraits, even skin tones
- Studio strobes: Professional studio work
- Reflectors: Use fill light to open shadows
Camera settings:
- Aperture priority recommended for consistent exposure
- Minimum shutter speed: 1/125s for handheld (due to ISO 160)
- Focus carefully - fine grain shows focus errors clearly
Sample Shooting Scenarios
Portrait session in golden hour:
- Meter for skin tones, overexpose by +2/3 stop
- Use 85mm lens at f/2.8 for shallow depth of field
- Expect creamy skin tones and beautiful background separation
Fashion shoot in studio:
- Use strobe lighting with large softbox
- Meter incident light for consistent exposure
- Portra 160’s fine grain perfect for detailed fashion work
Kodak Portra 400: The Versatile Workhorse
When to Choose Portra 400
Ideal for:
- General portrait photography
- Wedding photography
- Travel and documentary work
- Mixed lighting conditions
- When versatility is needed
The “Goldilocks” choice: Fast enough for handheld shooting, fine enough for professional work.
Technical Characteristics
Exposure latitude: Excellent, 2-3 stops overexposure tolerance Grain: Fine grain structure, pleasing at all print sizes Color reproduction: Perfect balance of saturation and naturalness Contrast: Moderate contrast, excellent tonal range Versatility: Works in widest range of lighting conditions
Shooting Tips for Portra 400
Exposure strategy:
- Overexpose by +1/2 to +1 stop for optimal skin tones
- Shoot wide open in lower light situations
- Use matrix/evaluative metering for general scenes
- Bracket important shots when learning the film
Versatile applications:
- Indoor available light: Churches, homes, venues
- Outdoor portraits: Cloudy days, open shade
- Street photography: Candid moments, mixed lighting
- Event photography: Weddings, parties, celebrations
Camera settings:
- Aperture or shutter priority both work well
- Handheld friendly: 1/60s minimum with good technique
- Auto-focus compatible with all modern cameras
Sample Shooting Scenarios
Wedding ceremony in church:
- Set camera to ISO 400, shoot at f/2.8
- Overexpose by +1 stop for bright, airy feel
- Beautiful skin tones even in challenging mixed lighting
Travel portraits:
- Perfect for varying light throughout the day
- Fine enough grain for enlargements
- Forgiving exposure for quick shooting situations
Kodak Portra 800: The Low Light Specialist
When to Choose Portra 800
Ideal conditions:
- Indoor events and receptions
- Available light photography
- Handheld shooting in dim conditions
- When you need faster shutter speeds
- Documentary and photojournalism
Consider for: Any situation where you’d otherwise push Portra 400 to 800.
Technical Characteristics
Exposure latitude: Good, though less than 160 or 400 Grain: Visible but pleasant and film-like Color reproduction: Slightly more saturated than 400 Push processing: Excellent results pushed to 1600 or 3200 Low light performance: Best in Portra series for available light
Shooting Tips for Portra 800
Exposure strategy:
- Still overexpose by +1/2 stop when possible
- Watch for underexposure - grain becomes unpleasant
- Use spot metering for critical skin tone exposure
- Consider push processing for very low light
Low light techniques:
- Wide apertures: f/1.4-f/2.8 for shallow depth of field
- Steady technique: 1/30s possible with good camera handling
- Image stabilization: Use if available on lens
- Flash bounce: Complement available light when needed
Push processing options:
- Push to 1600: +1 stop development, excellent results
- Push to 3200: +2 stops, increased grain but usable
- Half-stop pushes: +1/2 stop often optimal balance
Sample Shooting Scenarios
Wedding reception:
- ISO 800, f/2.8, 1/60s for dancing shots
- Available light creates mood and atmosphere
- Beautiful skin tones even under mixed venue lighting
Documentary photography:
- Handheld shooting in changing conditions
- Fast enough for candid moments
- Grain adds to authentic, documentary feel
Portra Comparison: Which Should You Choose?
Quick Decision Guide
Choose Portra 160 when:
- Maximum image quality is priority
- Shooting in bright, controlled light
- Making large prints or commercial work
- You have stable shooting platform (tripod/studio)
Choose Portra 400 when:
- You want maximum versatility
- Shooting varied lighting conditions
- Learning film photography (most forgiving)
- General portrait and event work
Choose Portra 800 when:
- Low light is unavoidable
- You need faster shutter speeds
- Shooting handheld in dim venues
- Documentary/photojournalism style work
Color and Aesthetic Differences
Portra 160:
- Slightly cooler color temperature
- Lower saturation, more natural
- Finest detail and smoothest gradations
- Best for controlled color grading
Portra 400:
- Balanced color temperature
- Perfect saturation for most applications
- Excellent all-around color reproduction
- Most “classic Portra” look
Portra 800:
- Slightly warmer color temperature
- Higher saturation and contrast
- More “punchy” look straight from lab
- Grain adds character and mood
Exposure and Metering Techniques
Understanding Portra’s Exposure Latitude
The overexposure advantage:
- Portra looks better overexposed than underexposed
- Overexposure opens shadows and improves skin tones
- Up to 3 stops overexposure often still usable
- “Expose for shadows, develop for highlights”
Metering Strategies
For portraits:
- Incident meter on subject’s face (most accurate)
- Spot meter on skin tones and overexpose 1/2 stop
- Matrix meter and add +2/3 compensation
For mixed scenes:
- Meter for most important element (usually people)
- Use exposure compensation rather than changing ISO
- Bracket when learning the film’s characteristics
Common Exposure Mistakes
Underexposure problems:
- Muddy shadow detail
- Poor skin tone reproduction
- Increased grain and reduced quality
- Color shifts in highlights
Overexposure benefits:
- Improved shadow detail
- Better skin tone rendering
- Maintained highlight detail (to a point)
- Overall more pleasing results
Processing and Lab Considerations
C41 Processing Standards
All Portra films use standard C41 chemistry:
- Process at any lab offering C41 development
- Consistent results across different labs
- No special handling required
- Standard processing time and temperature
Lab Selection for Portra
Budget labs:
- Acceptable for learning and casual use
- May not optimize color correction for Portra
- Usually consistent but not optimized results
Professional labs:
- Better color correction and handling
- Experience with professional films
- Custom color grading available
- Worth the extra cost for important work
Find professional labs that specialize in C41 processing with our lab directory to get the best results from your Portra film.
Scanning Considerations
Home scanning:
- Portra scans well on flatbed scanners
- Consider professional film scanner for best results
- Color profiles available for accurate reproduction
Lab scanning:
- High-resolution scans preserve fine detail
- Professional color correction brings out Portra’s best
- TIFF files recommended for serious work
Scanning your Portra negatives? Our film scanning guide compares home vs lab scanning options to help you get the best digital files from your Portra shots.
Push and Pull Processing
Push Processing Portra
Portra 400 → 800:
- +1 stop development
- Minimal quality loss
- Slightly increased contrast and grain
Portra 800 → 1600:
- +1 stop development
- Excellent results, still very usable
- More noticeable grain but pleasing
Portra 800 → 3200:
- +2 stops development
- Visible grain but character remains
- Good for documentary/artistic work
Pull Processing Portra
Less common but useful:
- Shooting 400 at 200 for finer grain
- Reduces contrast in harsh lighting
- Requires -1 stop development
When to pull:
- Very contrasty lighting situations
- When you want finest grain possible
- Shooting in bright snow or beach conditions
Digital vs Portra: The Film Advantage
What Digital Can’t Replicate
Organic color transitions:
- Film’s continuous tone vs digital’s discrete values
- Natural color gradation in skin tones
- Pleasing color response curves
Highlight rolloff:
- Film’s gentle highlight transitions
- Digital’s harsh clipping vs film’s gradual saturation
- Natural overexposure characteristics
Color science:
- Decades of Kodak color research
- Optimized for human vision and preference
- Consistent look across different lighting
When Film Still Wins
Portrait photography:
- Superior skin tone reproduction
- Flattering response to all skin types
- Natural beauty enhancement
Wedding photography:
- Consistent results in mixed lighting
- Forgiving exposure latitude
- Timeless aesthetic appeal
Practical Shooting Scenarios
Wedding Photography with Portra
Ceremony (Portra 400):
- Indoor/outdoor flexibility
- Consistent results in changing light
- Beautiful skin tones for all ethnicities
Reception (Portra 800):
- Available light capability
- Fast shutter speeds for dancing
- Atmospheric grain adds mood
Portraits (Portra 160):
- Maximum quality for posed shots
- Fine grain for large prints
- Studio-quality results
Fashion and Commercial Work
Studio fashion (Portra 160):
- Finest grain for detailed clothing
- Excellent color accuracy for fabric
- Professional quality standards
Location fashion (Portra 400):
- Versatility for changing conditions
- Natural outdoor portrait look
- Balance of quality and practicality
Family and Personal Photography
Everyday portraits (Portra 400):
- Perfect for family photos
- Consistent pleasing results
- Easy to shoot in any condition
Special occasions (Portra 160 or 800):
- 160 for formal family portraits
- 800 for birthday parties and events
- Match film to lighting conditions
Buying and Storage Tips
Where to Buy Portra
Local camera shops:
- Support local business
- Fresh stock rotation
- Expert advice available
Online retailers:
- Competitive pricing
- Bulk purchase options
- Convenient delivery
Professional suppliers:
- Freshest stock available
- Professional packaging
- Volume discounts
Storage Recommendations
Before shooting:
- Refrigerate for long-term storage
- Freeze for storage over 6 months
- Bring to room temperature before loading
After shooting:
- Process within 6 months for best results
- Refrigerate if processing delayed
- Avoid extreme temperatures and humidity
Cost Considerations
Price per roll: $12-16 depending on retailer and format Processing costs: $8-25 depending on lab and services Total cost per roll: $20-40 including development and basic scanning
Budget tips:
- Buy in bulk for better pricing
- Look for sales and discounts
- Consider development-only options with home scanning
Understanding what you’re paying for? Our film processing costs guide breaks down Portra processing pricing and helps you find the best value for your budget.
Troubleshooting Common Issues
Color Problems
Green color cast:
- Usually from fluorescent lighting
- Can be corrected in scanning/printing
- Consider tungsten-balanced filtration when shooting
Magenta/pink shadows:
- Often from underexposure
- Ensure adequate shadow exposure
- Professional lab color correction can help
Flat, muddy colors:
- Usually from underexposure
- Always err on side of overexposure with Portra
- Check light meter accuracy
Grain Issues
Excessive grain:
- May indicate underexposure
- Check processing quality
- Consider switching to lower ISO Portra
Uneven grain:
- Usually processing issue
- Find better lab or check chemistry freshness
- Ensure proper storage before processing
Exposure Problems
Dark, muddy images:
- Classic underexposure problem
- Overexpose by +1/2 to +1 stop next time
- Learn Portra’s exposure characteristics
Blown highlights:
- Rare with Portra but possible
- Use incident metering for critical highlights
- Consider graduated filters for extreme contrast
Building Your Portra Workflow
Starting Out
Week 1-2: Learn one film
- Choose Portra 400 as starting point
- Shoot 5-10 rolls in various conditions
- Take notes on lighting and exposure settings
Week 3-4: Compare speeds
- Try Portra 160 in bright conditions
- Test Portra 800 in low light
- Compare results and learn differences
Month 2: Refine technique
- Focus on exposure consistency
- Experiment with overexposure amounts
- Find labs that handle Portra well
Advanced Techniques
Custom color grading:
- Work with professional labs on color preferences
- Develop consistent processing style
- Build relationships with lab technicians
Mixed Portra shooting:
- Use different speeds in same session
- Match films to specific lighting conditions
- Maintain consistent aesthetic across speeds
Professional workflow:
- Shoot test rolls before important sessions
- Maintain consistent processing lab
- Develop backup processing relationships
Setting up your full workflow? Our complete film processing workflow guide covers everything from shooting to final prints with Portra.
The Future of Portra
Kodak’s Commitment
Continued production:
- Kodak has committed to ongoing Portra production
- Steady supply despite film market changes
- Professional demand ensures availability
Quality improvements:
- Ongoing refinements to emulsion technology
- Improved quality control processes
- Better consistency batch to batch
Market Position
Professional standard:
- Remains the benchmark for color negative film
- Used by top wedding and portrait photographers
- Standard against which other films are measured
Growing popularity:
- Increased demand from film photography revival
- New photographers discovering film’s advantages
- Social media driving interest in film aesthetic
Conclusion
Kodak Portra represents the pinnacle of color negative film technology, offering photographers unmatched skin tone reproduction, exceptional exposure latitude, and consistent professional results. Whether you choose Portra 160 for maximum quality, Portra 400 for versatility, or Portra 800 for low light capability, you’re using a film system refined through decades of professional use.
Key takeaways for shooting Portra:
- Overexpose rather than underexpose for best skin tones
- Choose the right speed for your lighting conditions
- Use professional processing when quality matters most
- Learn each film’s characteristics through practice and experimentation
- Maintain consistent workflow for predictable results
The beauty of Portra lies not just in its technical capabilities, but in how it renders the human experience with warmth, dignity, and timeless appeal. Whether you’re capturing family moments or professional portraits, Portra helps you create images that stand the test of time.
Comparing other color films? Check out our guides to other film stocks and explore different film characteristics. Understanding the chemistry? Our film processing chemistry guide explains what makes Portra’s C41 process special.
Ready to start shooting Portra? Find professional C41 processing labs and begin your journey with the world’s finest color portrait film.
Kodak Portra guide current as of 7/16/2025. Film specifications and availability subject to change - always verify current information with retailers and labs.